What is a Corsi-Roenthal Box?
A CR Box is a DIY air purifier made from Merv13 filters and a box fan, designed to improve indoor air quality efficiently and affordably.
Build your own high-performance air cleaner for a fraction of the cost of commercial HEPA units. The Corsi-Rosenthal (CR) Box is a proven, effective DIY method to clear indoor air of allergens, wildfire smoke, dust, and airborne virus particles.
What’s in the Bundle?
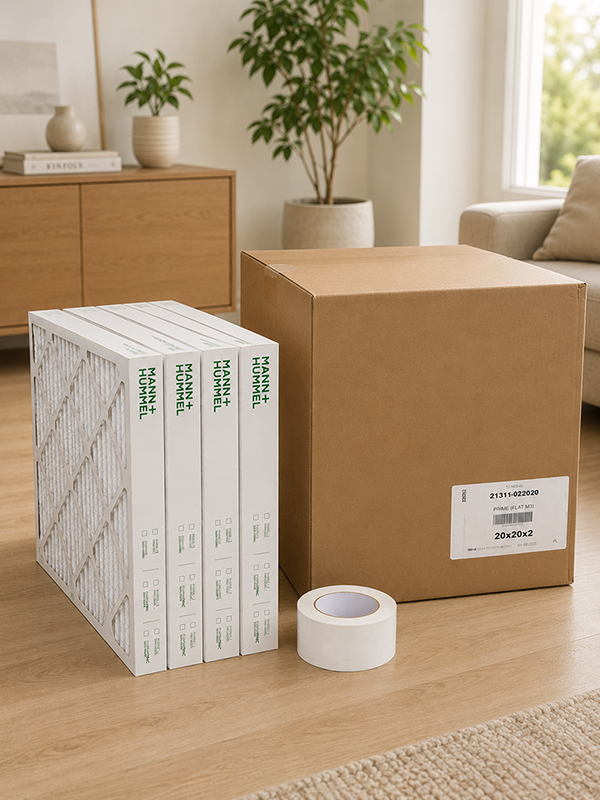
- 4x High-Efficiency Filters: 20x20x2 pleated MERV 13 filters designed to capture 85% of particles as small as 0.3 microns, including bacteria and viruses.
- 1x Roll of Heavy-Duty White Duct Tape: Professional-grade sealing tape for airtight assembly.
- 1x Heavy-Duty Cardboard Shipping Box: Sized perfectly to act as the bottom base and optional top shroud for your purifier.
(Note: Requires a standard 20-inch box fan, sold separately. Can be found on amazon or your local hardware store.)
Why Choose the CR Box?
- Superior Filtration: Uses MERV 13 media, which is highly effective against smoke, pollen, and even submicron droplets.
- Improved Airflow: The four-filter cube design maximizes surface area, allowing your fan to move more clean air than single-filter setups.
- Cost-Effective: A medical-grade air cleaning solution that fits most household budgets.
How to Build Your CR Box
Ready to assemble? Follow this expert-led guide to build your air purifier in under 20 minutes:
Watch: How to Build a Corsi-Rosenthal Box
Quick Assembly Steps:
- Arrange Filters: Place 4 filters in a square with airflow arrows pointing INWARD toward the centre of the cube. Correct orientation is critical; even one reversed filter reduces efficiency by 25-30%.
- Form the Shell: Stand the four filters vertically in a square and seal the vertical edges with duct tape to create a completely airtight seal between filters.
- Attach the Base: Use cardboard from the shipping box to create a floor. Tape it securely to the bottom of the filters.
- Mount the Fan: Place your 20-inch box fan on top, blowing UPWARD. Tape all seams around the fan to ensure an airtight seal.
- Optional Shroud: Cut a circular hole in a piece of cardboard and tape it to the face of the fan to increase efficiency by 20-30%.
- Leak Testing: Run the fan and check for leaks using tissue paper or airflow tests. Seal any leaks and repeat until airtight.
Placement and Operation
- Keep the box at least two feet from walls or obstacles to allow proper airflow.
- Place on a stable surface like a table or cabinet to prevent tipping.
- Avoid placing objects on top or operating near water or solvents.
- Use low or medium fan settings if noise is an issue.
Maintenance
- Filter lifespan: 5–6 months under typical daily use.
- Filter replacement: Turn off the fan, remove duct tape carefully, fold filters, and dispose in a sealed bag. Wash hands afterward.
- Rebuilding: You can reuse the original fan and tape to assemble new filters in under an hour.
Tips for Optimal Performance
- Double-check airflow arrows on all filters.
- Ensure airtight seals at every joint.
- Optional fan shrouds can improve efficiency and reduce noise.
- Avoid touching filters unnecessarily to maintain effectiveness.